MSU provides a default course Navbar and several alternative templates. However, instructors may choose to create a custom navbar to better support their course structure and highlight key tools for students.
How to Create a Custom Navbar
- Log into your course in D2L.
- Go to the Course Admin page.
- Select Navigation and Themes.
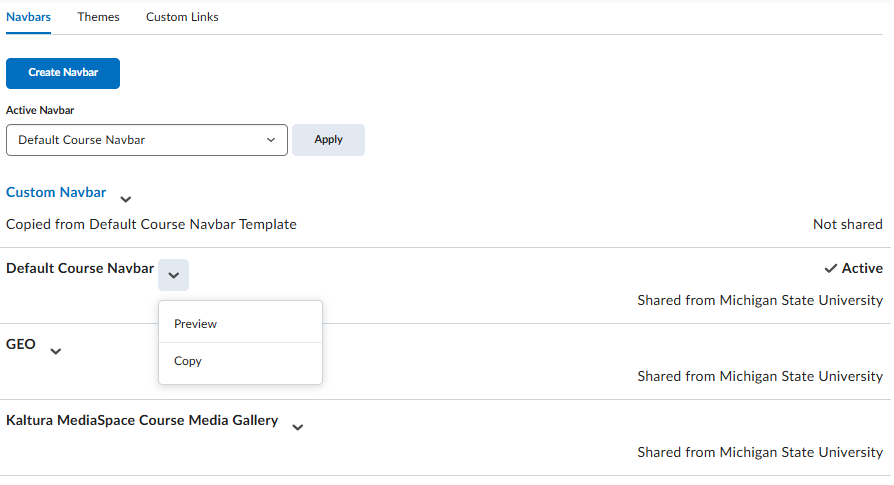
- Click the dropdown arrow next to the desired template and select Copy.
- Click the copied navbar to edit it.
- Here you can:
- Rename the navbar
- Add, remove, or rearrange the navbar links
- enter a description (optional)
- Here you can:
- Once your changes are complete, click Save and Close.
- From the Active Navbar menu, select your custom navbar and click Apply.
Note: While instructors can create a custom navbar from scratch, this is generally not recommended. Starting from a template significantly reduces setup time, especially when configuring dropdown menus like Assessments.
How to add links to Custom Navbar
Once you've created a custom navbar, you can add links to tools or resources that are important for your course.
- Log into your course in D2L.
- Go to Course Admin.
- Select Navigation and Themes.
- Click on your custom navbar.
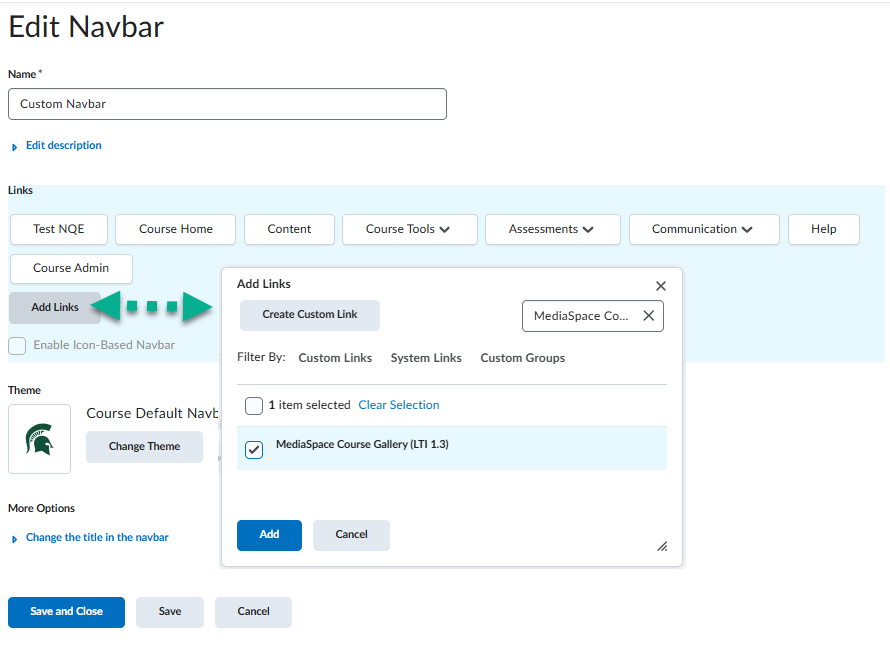
- Choose Add Links.
- Find and select desired link (e.g., "Mediaspace Course Gallery (LTI 1.3)").
- Click Add, then Save and Close.
Tip: You can add multiple links at once and then rearrange them by dragging and dropping them within the navbar editor.