Syllabus and Course Schedule

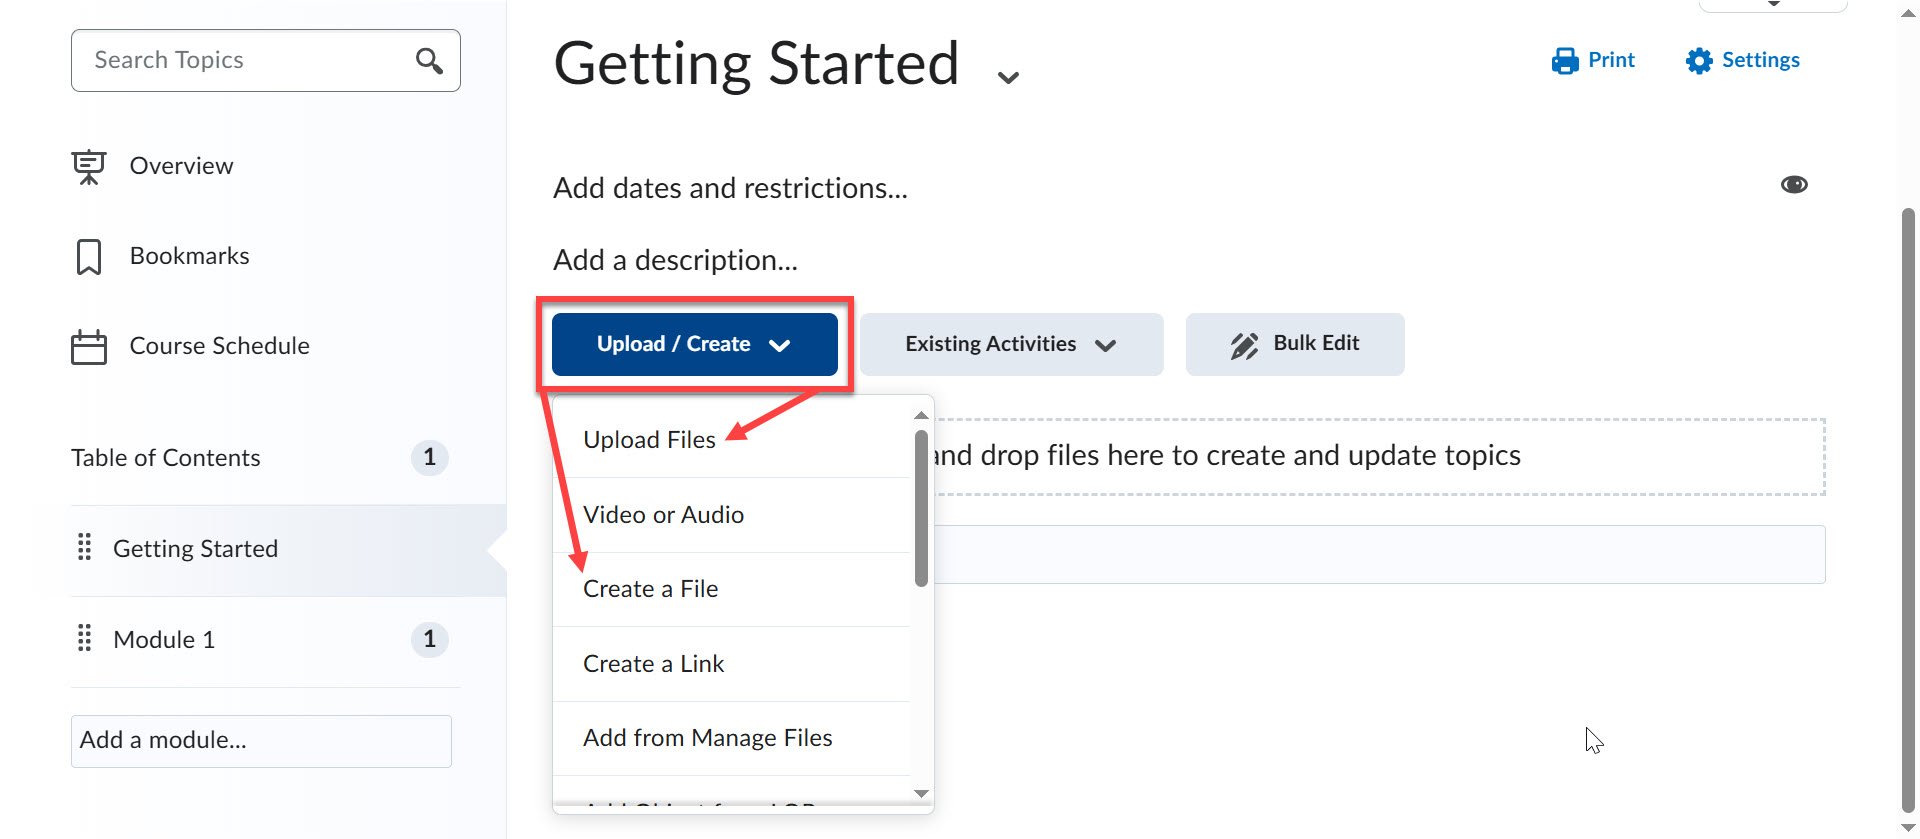
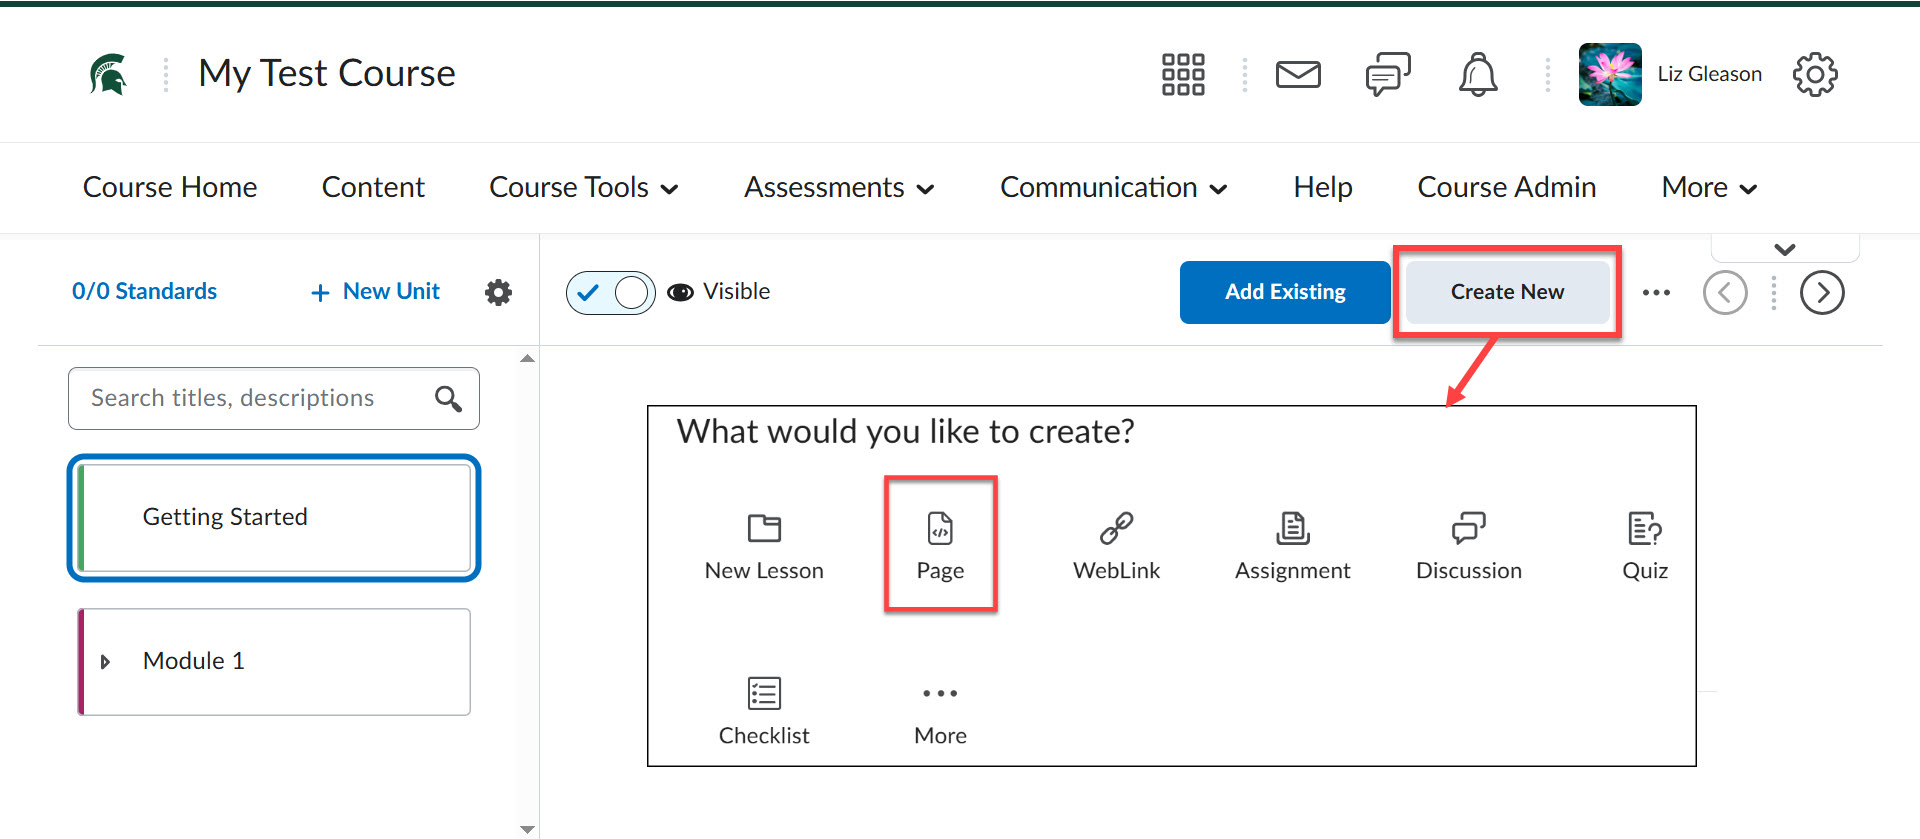
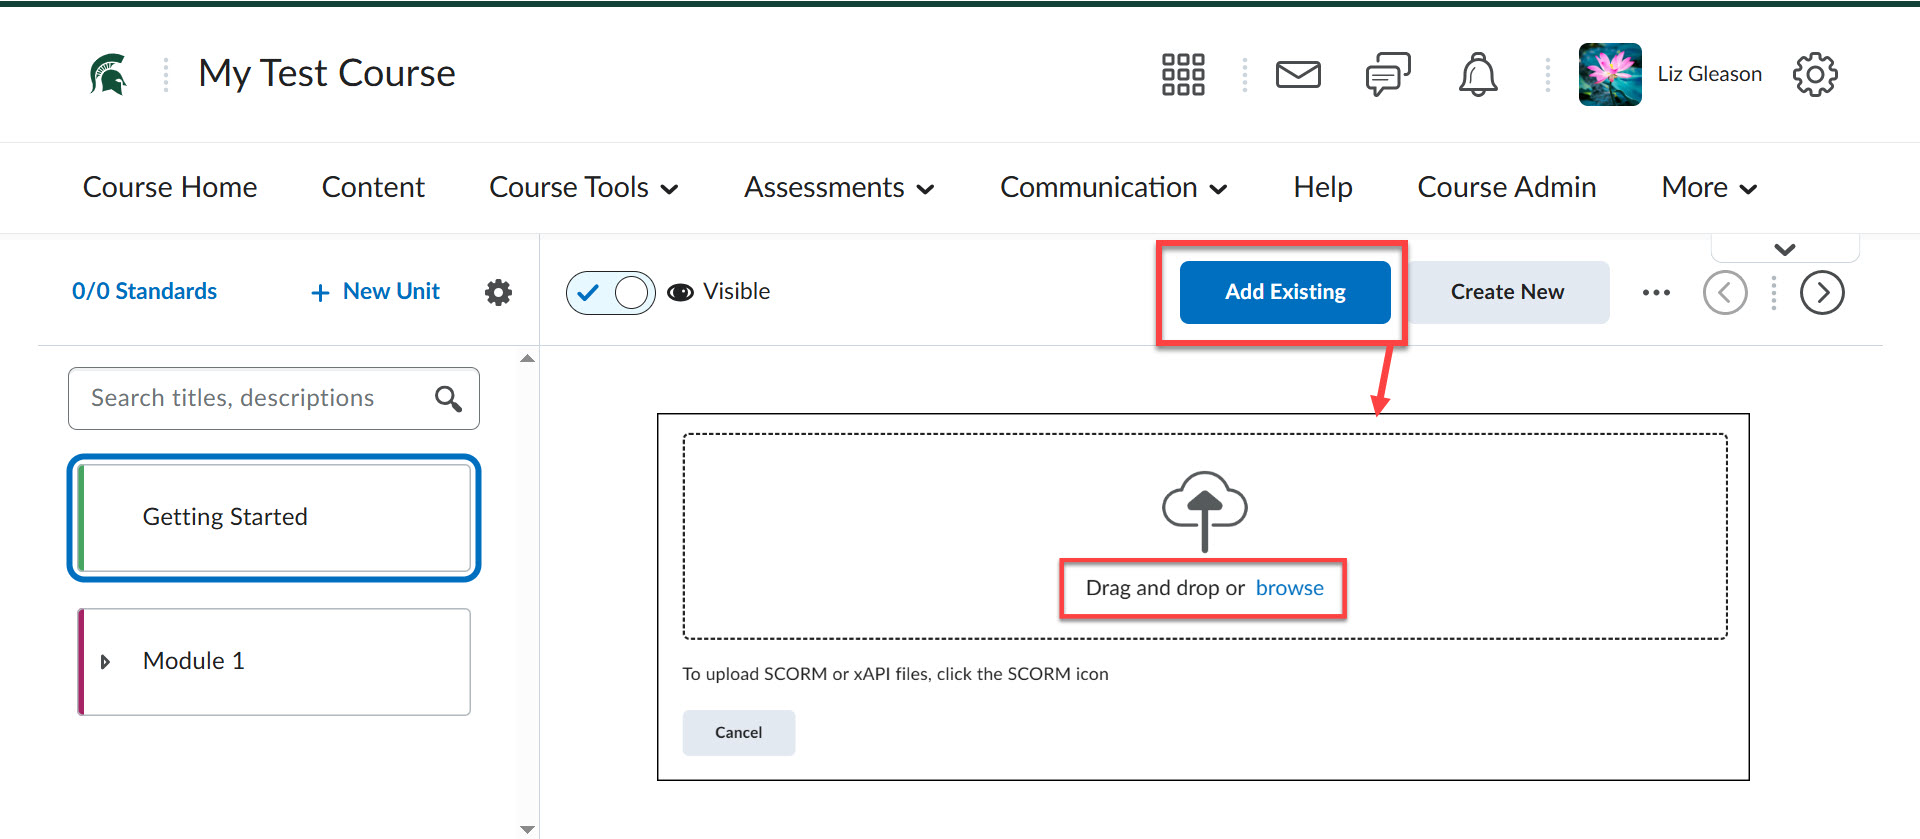
Why post a syllabus and course schedule in D2L?

A syllabus should detail course-specific information and serve as the course's constitution. Like a job description, the syllabus is a tangible document that clearly outlines students' primary responsibilities and duties. A clear course schedule, often a component of the syllabus, functions like a project tracking mechanism common in many work environments. The schedule provides guidance to students about pending deadlines, key horizon events, and the general trajectory of the course.

Jump to instructions
 

check-green

Foundational Guide

A syllabus should detail course-specific information and serve as the course’s constitution 

check-green

Clear and Tangible Outline

Like a job description, the syllabus is a tangible document that clearly outlines their primary responsibilities and duties

check-green

Effective Organization

A clear course schedule, often a component of the syllabus, functions like a project tracking mechanism common in many work environments

check-green

Better Tracking for Students

The schedule gives guidance to students about pending deadlines, key horizon events, and the general trajectory of the course 

How to post a syllabus and course schedule?

  • Add the course syllabus to the Content area of your course. Do not add it to Overview or Announcements.
  • Create a module (in the Classic Interface) or unit (in the New Content Experience) called "Start Here" (or "Getting Started") and add your syllabus. Please ensure that the word "syllabus" is in the title and that a course schedule and grading policy/scale are included.
  • An HTML webpage is the most accessible format, but a Word document is also acceptable. PDFs are generally less accessible and should be avoided when possible.

Classic Interface:

  • Click Upload / Create and select Create a File for an HTML page.
  • Click Upload Files for a Word document.

New Content Experience:

  • Click Create New and select Page for an HTML page.
  • Click Add Existing and upload a Word document at the bottom of the screen.

Using the D2L Calendar Tool

To manage important events/dates using the Calendar tool:

  • Go to the Course Home page or navigate to Course Admin.
  • Select Calendar to access the course calendar.
  • All assignments and quizzes with due dates are automatically added to the calendar.

To manually add an event to the calendar:

  • Click the down arrow next to Calendar.
  • Select Go to Calendar.
  • Click the blue Create Event button.
    • Enter a Title, select the date(s) for the event, add a Description and any view restrictions as needed.
  • Click Create.